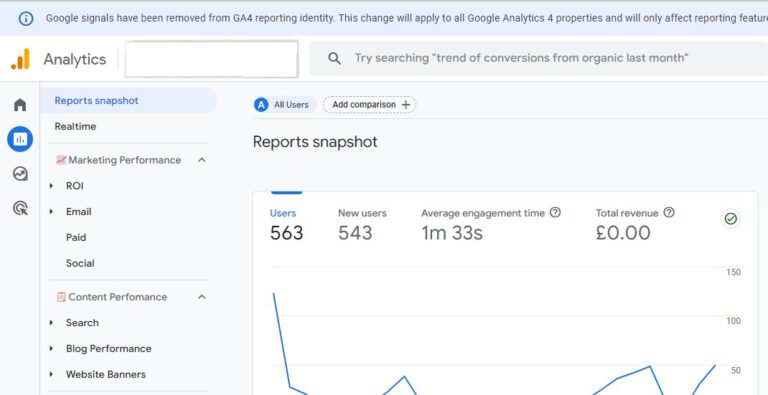
Channel groupings in Google Analytics 4 (GA4) allow you to categorise your traffic sources into custom groups, providing deeper insights into how different marketing channels contribute to your website’s performance. In this step-by-step guide, we’ll walk you through the process of setting up channel groupings in GA4 to better understand your traffic sources and optimise your marketing strategies.

Log in to your Google Analytics account and navigate to the GA4 property for the website you want to set up channel groupings for.
It’s important to know that customisation only applies to each individual property so do make sure you have selected the correct one. These steps will need to be repeated for each individual property you require.

In the left-hand navigation menu, click on “Admin” then under ‘Data display’ select ‘Channel groups’.

Under the “Channel Grouping” tab, click on “Create new channel group.”

In the channel grouping editor, you’ll see a list of default channels (e.g. Direct, Cross-network, Referral). Click on “Add new channel” to create custom channel rules for a new channel you would like to report on.
Configure channel rules based on your specific marketing channels and traffic sources. You can define rules using criteria such as source, medium, campaign, or any other dimension available in your GA4 data.
This is probably the area in which we see most mistakes. It is vital to ensure consistent tracking on your marketing efforts.
To make things easier, we have created a UTM tracker for you to assist in accurately tracking your marketing. This should help you to identify the correct source/medium/campaign for your UTM tracking. Request our FREE UTM Tracker.
Once you’re satisfied with your channel grouping rules, click “Save” to save the new channel grouping.
After saving the channel grouping, you can apply it to your GA4 reporting by selecting it from the dropdown menu in the “Channel Grouping” section of your reports.

Explore your GA4 reports with the new channel grouping applied to gain insights into how different marketing channels contribute to your website traffic, user engagement, and conversions.
Your new Channel will now also be available to monitor in your reports, explorations and also if you choose to connect your data to Looker Studio.

Use the insights from your channel grouping analysis to optimise your marketing strategies. Identify top-performing channels, allocate budget and resources effectively, and refine your messaging and targeting to drive better results.
By following these steps to set up channel groupings in Google Analytics 4, you can gain a deeper understanding of your website’s traffic sources and make informed decisions to improve your marketing performance and ROI. Experiment with different channel grouping configurations to find the setup that best fits your business goals and reporting needs.
As always, we’re here to help so do contact us if you need any support.
